A headline can make a water test sound like a single fact. A recent report from Circle of Blue, published October 23, 2026, carries the headline "PFAS Contamination in Drinking Water May Be Underestimated, New Study Suggests." This piece does not try to summarize that research. It takes the homeowner's side of the question: if a test result depends on the sample, what part of the process is yours to control? Usually, a good deal of it is how you collect the water.
Two Common Ways to Fill the Bottle
Most home sampling starts with one of two approaches. A first-draw sample is taken from the first water to come out of a tap after it has sat in the pipes for several hours, often overnight. It shows what the plumbing and the water have been doing together. A flushed sample is taken after you run the tap for a few minutes, so the water comes from farther back in the system. It tells you more about what the supply itself delivers.
Neither method is universally right. If you want to know whether pipes or fixtures might be releasing metals, a first-draw sample is the usual starting point. If you want to know what arrives from the utility or the well, a flushed sample usually answers that better. Ask your lab, or whoever ordered the test, which method fits your question. A generic checklist may not match your situation.
Follow the Lab's Bottle Instructions Exactly
For PFAS and some other contaminants, the bottle is part of the method. Many labs supply containers that already hold preservatives, and rinsing one out can wash that preservative away. Do not rinse it. Keep the cap clean, avoid touching the inside, and fill the bottle to the level the lab specifies. Some labs want samples chilled or shipped within a set window, so read the cooler and hold-time rules before you schedule the pickup or the drop-off.
Write Down What You Did
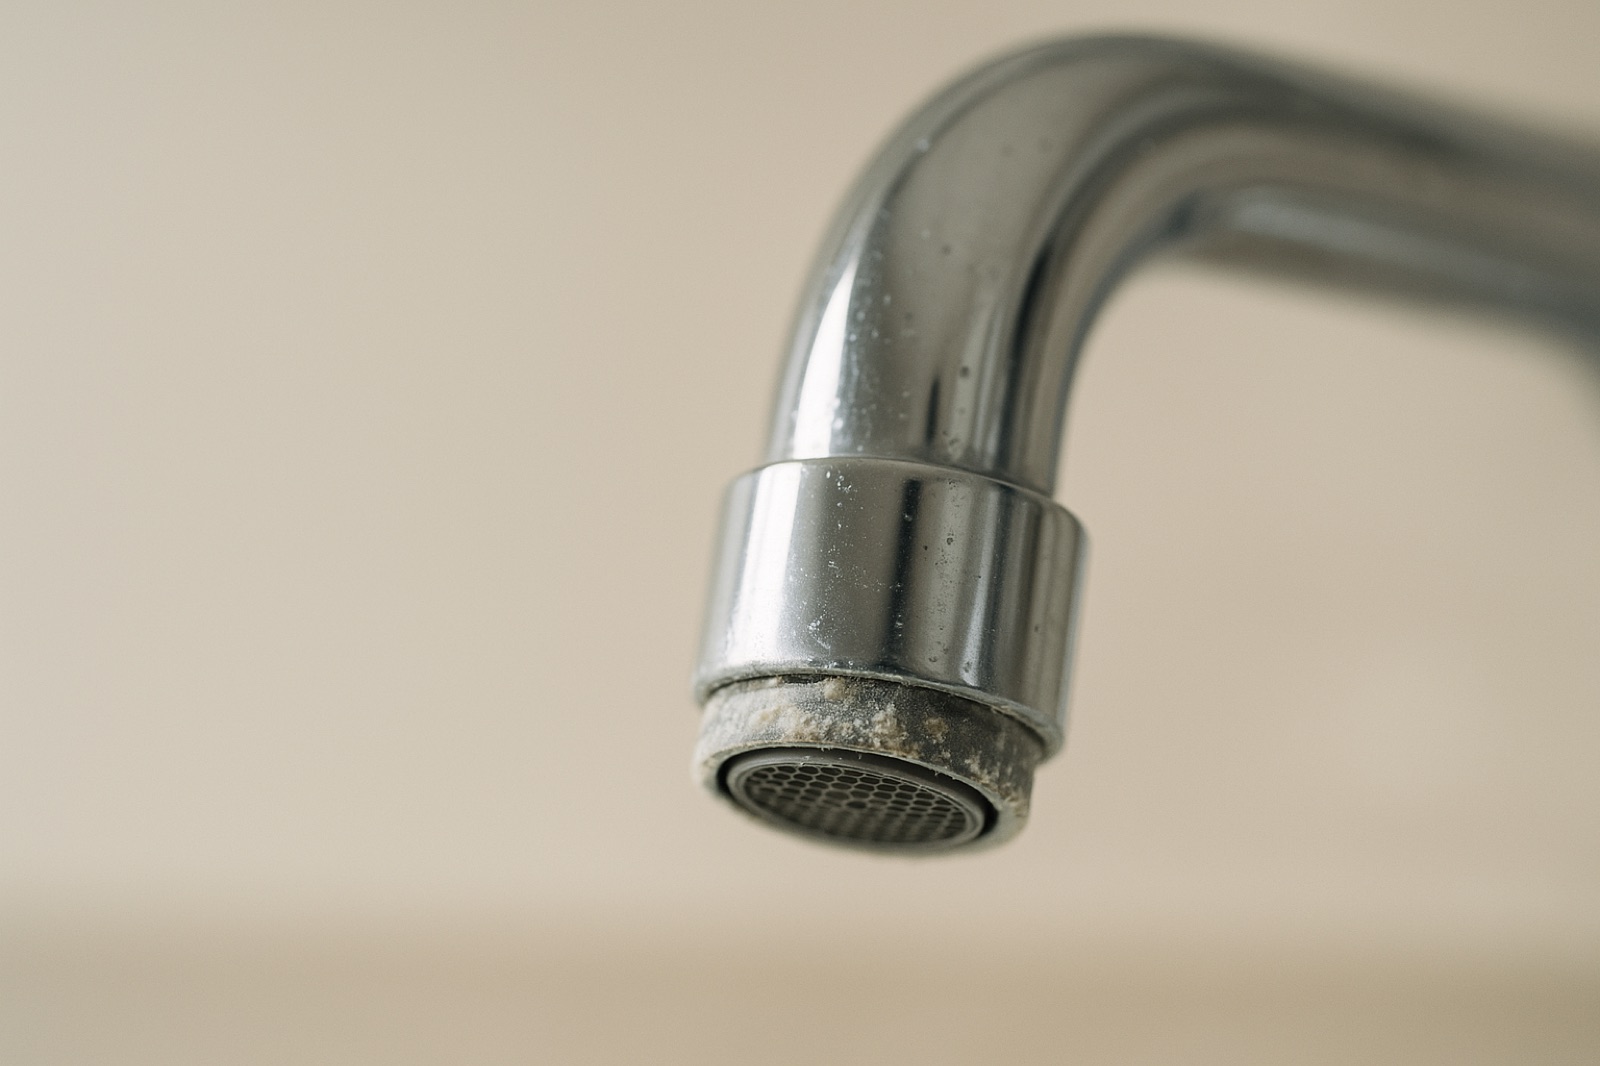
A result without a record is hard to interpret later. Note the date and time, which tap you used, whether you ran the water first and for how long, whether the faucet had an aerator or a filter attached, and whether any appliance had been running nearby. Keep the chain-of-custody form the lab sends, and photograph the labels before you mail the box. If you test again next season, these notes let you compare like with like instead of guessing whether a change is real.
Match the Test to the Decision
Start with the choice the result will support. If you are deciding whether a filter is worth installing, a flushed sample from the kitchen cold tap shows the water entering the house, which is what the filter will treat. If an earlier report flagged something at one fixture, repeat the test at that same fixture under the same conditions. Mixing methods between two tests can make a difference look meaningful when it only reflects how each sample was drawn.
If Someone Else Collects the Sample
Sometimes a utility worker, contractor, or inspector takes the sample for you. You are still entitled to ask the same questions. Which method are they using? Which bottle and preservative? Where on the property was the water drawn? Will you receive the full lab report, including the reporting limits, and the sampling details? Write the answers on the paperwork. A sample you did not watch being taken is still your sample, and your household will live with the result.
The headline about underestimation is a reminder that a single number is only as useful as the story behind it. The lab can analyze only the bottle it receives. Your job is to make that bottle represent the water you actually want to know about, and to keep enough notes that you can explain the result to yourself later.